
Upholstery is an art that allows you to transform worn-out furniture into stylish pieces that reflect your personal taste. If you’re a beginner eager to embark on a DIY upholstery project, here are three essential tips and tricks to get you started on the right foot, all of which involve the versatile and indispensable material – foam.

1. Understanding Upholstery and Its Basics
Before diving into the hands-on aspects, it’s crucial to grasp the fundamentals of upholstery. Upholstery involves the process of covering furniture, such as chairs or sofas, with fabric or leather to provide a fresh look. The primary goal is not just aesthetics but also ensuring comfort and durability.
2. Selecting the Right Foam for the Job
One of the key materials in upholstery is foam, and choosing the right type can make a significant difference in the comfort and longevity of your project. Polyurethane upholstery foam is a popular choice due to its resilience and support. When selecting foam, consider the density and thickness based on the furniture piece and your comfort preferences.
3. Essential Tools for DIY Upholstering
Equipping yourself with the right tools is essential for a successful upholstery project. Some must-have tools include:
- Staple Gun: Used for securing fabric and foam in place.
- Upholstery Needles and Thread: Essential for sewing and stitching fabric.
- Foam Cutter or Electric Knife: Helps in achieving clean and precise cuts on foam.
- Webbing Stretcher: Ideal for fixing or replacing webbing on furniture frames.
4. DIY Upholstery Step-by-Step
Now that you have your materials and tools, let’s dive into the process of upholstery:
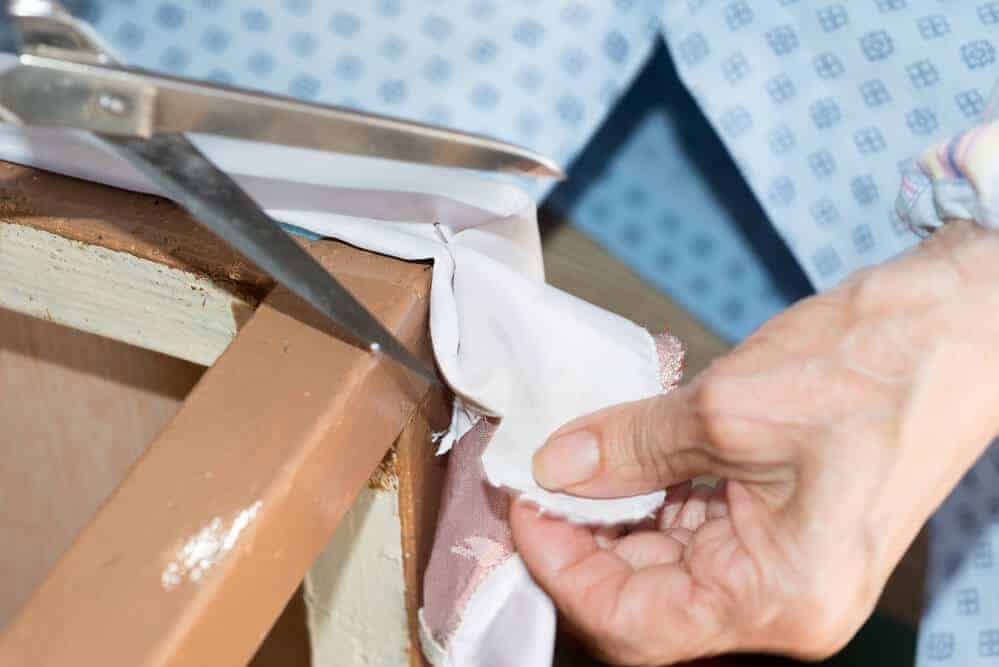
- Remove Old Fabric: Carefully strip away the existing fabric and padding from the furniture frame.
- Measure and Cut Foam: Measure the dimensions of your furniture and cut the foam accordingly. Ensure a snug fit for optimal comfort.
- Secure Foam and Fabric: Use the staple gun to attach the foam securely to the furniture frame. Stretch and staple the fabric over the foam, ensuring a smooth and wrinkle-free finish.
5. Personalizing Your Project with Creative Upholstery Tips
Enhance your DIY upholstery project with these creative tips:
- Contrast Piping: Add a touch of sophistication by using contrasting piping along the edges of your upholstery.
- Button Tufting: Create a classic and elegant look by incorporating button tufting into your upholstery design.
- Pattern Mixing: Experiment with mixing patterns for a unique and personalized aesthetic.
Embarking on a DIY upholstery project can be a rewarding experience, especially with the right tips and materials. By incorporating foam into your upholstery endeavors, you’ll not only achieve a fresh and revitalized piece of furniture but also gain valuable skills for future projects. So, roll up your sleeves, gather your materials, and let your creativity flow as you transform old furniture into cherished, customized treasures.