
In an era where digital screens dominate children’s leisure time, it’s essential to provide activities that stimulate creativity, enhance fine motor skills, and foster a love for hands-on craftsmanship. Laser-engraving wood DIY projects offer an excellent way to combine technology with artistry, creating personalized and intricate designs that captivate young minds. These projects not only entertain but also educate, teaching kids about design principles, precision, and the joy of making something unique with their own hands.
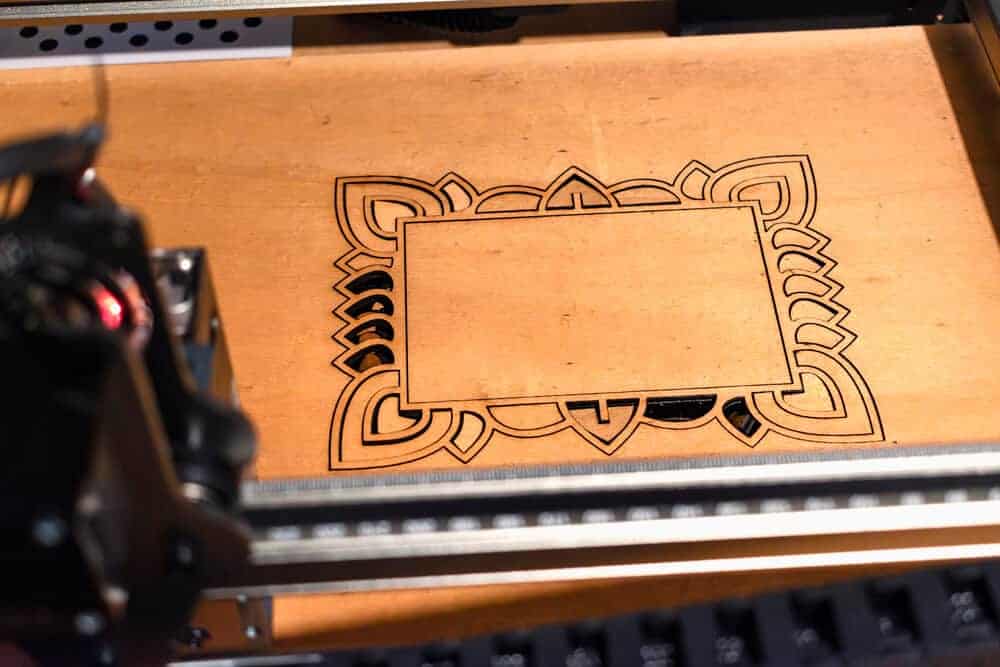
This article explores a variety of fun and engaging laser-engraving wood DIY projects perfect for kids, along with essential tips to ensure a safe and enjoyable crafting experience.
1. Personalized Name Plaques
Materials Needed:
· Thin wooden boards (such as plywood or MDF)
· Non-toxic paints or markers
· Sandpaper
· Mounting hardware (optional)
How to Make:
1. Design the Plaque: Use design software like Adobe Illustrator, Inkscape, or free alternatives to create a personalized name design. Incorporate decorative elements such as stars, hearts, or favorite characters.
2. Prepare the Wood: Choose a wooden board of appropriate size for the plaque. Ensure the surface is smooth by sanding any rough edges.
3. Laser Engraving: Load the design into the laser cutter software and engrave the name and decorations onto the wood. Adjust the settings based on the wood type and desired depth of the engraving.
4. Decorate: Allow the child to personalize the plaque further by painting or coloring the engraved areas. This adds a vibrant touch and makes the plaque unique.
5. Mounting (Optional): Attach mounting hardware if the plaque will be hung on a wall or door.
Educational Benefits:
· Enhances digital design skills.
· Teaches personalization and creative expression.
· Improves fine motor skills through painting and detailing.
2. Custom Wooden Puzzles
Materials Needed:
· Wooden puzzle blanks
· Laser cutter
· Non-toxic paints or markers
· Sandpaper
How to Make:
1. Design the Puzzle: Create a simple image or pattern suitable for a puzzle. For younger children, opt for fewer and larger pieces; for older kids, more pieces and intricate patterns work well.
2. Engrave the Design: Use the laser cutter to engrave the chosen image onto the wooden puzzle blank.
3. Cut the Pieces: Carefully cut the puzzle pieces along the engraved lines or use a pre-cut wooden puzzle blank and focus on engraving the design.
4. Smooth the Edges: Sand all edges to ensure the pieces are safe and comfortable to handle.
5. Decorate: Let children paint or color the engraved areas, bringing their puzzles to life with vibrant colors.
Educational Benefits:
· Develops problem-solving and spatial reasoning.
· Encourages creativity in design and decoration.
· Enhances hand-eye coordination.
3. Engraved Wooden Animal Ornaments
Materials Needed:
· Thin wooden sheets
· Laser cutter
· Acrylic paints or markers
· String or ribbon
· Sandpaper
How to Make:
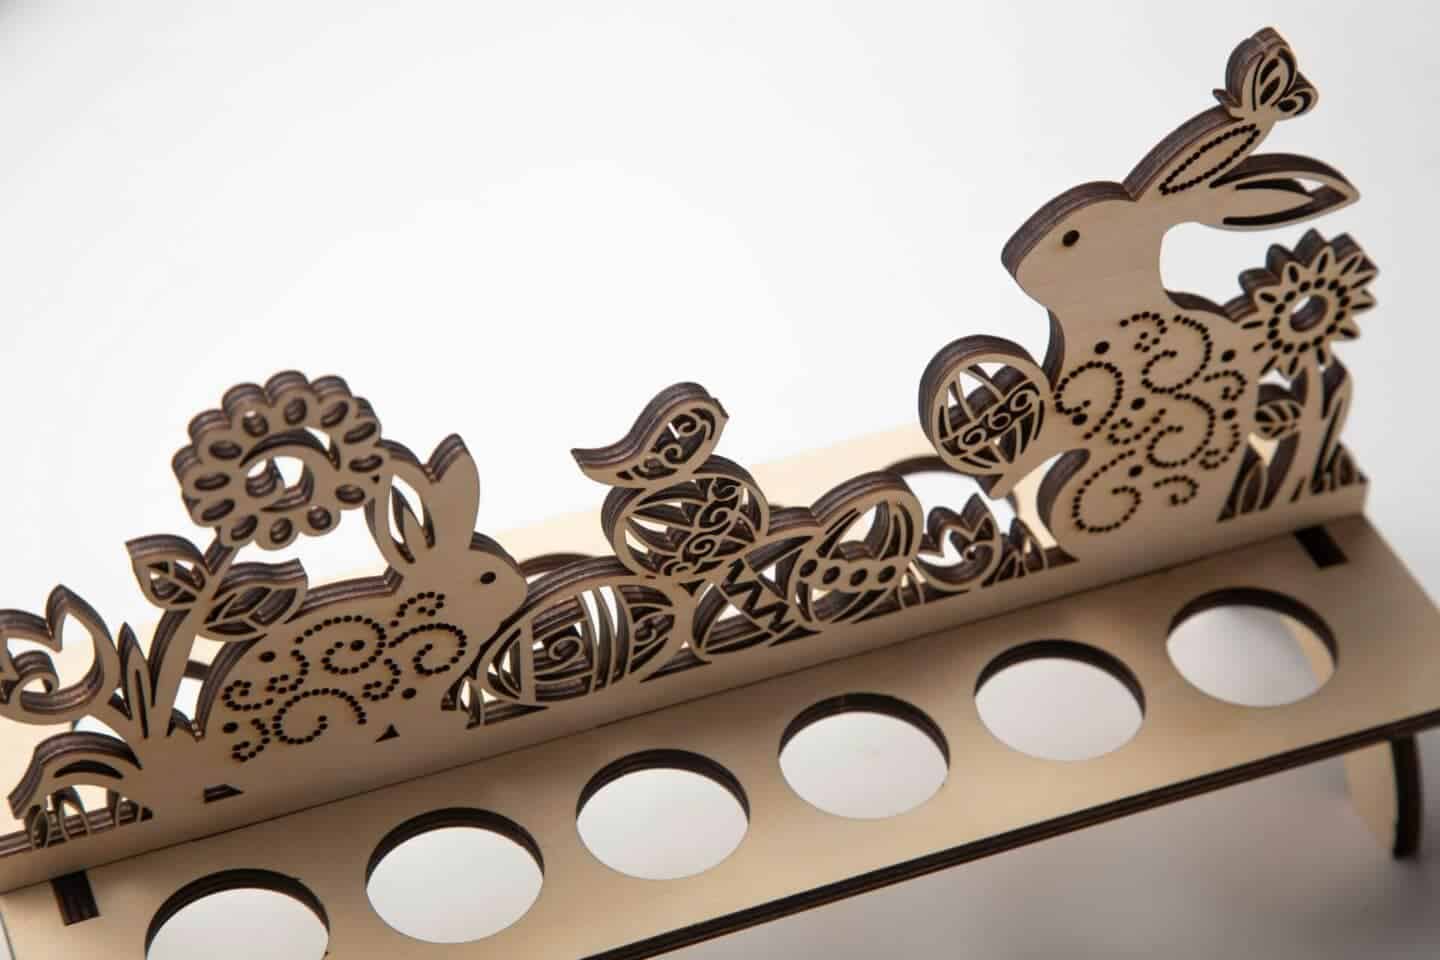
1. Select Animal Designs: Choose simple animal shapes such as cats, dogs, birds, or fantasy creatures. Create or download vector designs suitable for engraving.
2. Engrave the Designs: Load the animal designs into the laser cutter software and engrave them onto the wooden sheets.
3. Cut Out the Shapes: Use the laser cutter to precisely cut out each animal shape.
4. Smooth the Edges: Sand the edges of each ornament to remove any roughness.
5. Decorate: Allow kids to paint or color their animal ornaments with acrylic paints or markers. Add details like eyes, patterns, or backgrounds.
6. Attach String or Ribbon: Punch a small hole at the top of each ornament and thread a string or ribbon for hanging.
Educational Benefits:
· Sparks interest in wildlife and animal characteristics.
· Teaches precision in decorating intricate designs.
· Encourages responsibility through crafting items that can be used as decorations.
4. Interactive Storyboards
Materials Needed:
· Large wooden board
· Laser cutter
· Adhesive hooks or magnets
· Wooden cutouts (characters, objects, backgrounds)
· Non-toxic paints or markers
· Sandpaper
How to Make:
1. Create Story Elements: Design various characters, objects, and background scenes using design software. Ensure that each element is proportionate and suitable for engraving.
2. Engrave and Cut: Use the laser cutter to engrave and cut out each element from the wooden sheets.
3. Prepare the Board: Sand the large wooden board to create a smooth working surface. Choose whether to use adhesive hooks or magnets to attach the story elements.
4. Organize Story Elements: Allow kids to paint and decorate the characters and objects. They can then arrange these elements on the board to create and narrate their own stories.
5. Interactive Play: Encourage children to change scenes and characters, fostering their storytelling and imaginative skills.
Educational Benefits:
· Enhances narrative and storytelling abilities.
· Promotes creativity and imaginative play.
· Teaches organization and sequencing skills.
5. Engraved Wooden Keychains
Materials Needed:
· Thin wooden strips or shapes
· Laser cutter
· Key rings or chains
· Non-toxic paints or stains
· Sandpaper
How to Make:
1. Design Keychains: Create simple shapes or initials that can be engraved onto the wooden pieces. Popular designs include hearts, stars, animals, and names.
2. Engrave the Design: Use the laser cutter to engrave the chosen designs onto the wooden pieces.
3. Cut the Shapes: Precisely cut out each keychain shape using the laser cutter.
4. Smooth the Edges: Sand all edges to ensure the keychains are safe to handle.
5. Decorate: Let children paint or stain their keychains, adding personal touches and colors.
6. Attach Key Rings: Secure key rings or chains to each keychain piece, making them ready to use or gift.
Educational Benefits:
· Develops fine motor skills through detailed engraving and decorating.
· Encourages personalization and creativity.
· Teaches basic concepts of functional design.
6. Engraved Wooden Magnets
Materials Needed:
· Thin wooden shapes (circles, squares, custom shapes)
· Laser cutter
· Adhesive magnet strips or sheets
· Non-toxic paints or markers
· Sandpaper
How to Make:
1. Choose Magnet Designs: Select various shapes and designs suitable for magnets, such as letters, numbers, fruits, or cartoon characters.
2. Engrave and Cut: Use the laser cutter to engrave and cut out the chosen shapes from the wooden sheets.
3. Smooth the Edges: Sand all edges to ensure the magnets are safe to handle.
4. Decorate: Allow kids to paint or color their magnets, adding vibrant and personalized designs.
5. Attach Magnets: Glue adhesive magnet strips or sheets to the back of each wooden piece, creating functional and decorative magnets.
Educational Benefits:
· Enhances creativity in design and color selection.
· Teaches the concept of magnetism and functionality.
· Encourages practical application of artistic skills.
7. Custom Wooden Bookmarks
Materials Needed:
· Thin wooden strips
· Laser cutter
· Non-toxic paints or markers
· Sandpaper
· Hole punch and ribbon or tassels (optional)
How to Make:
1. Design Bookmarks: Create simple and appealing bookmark designs, including names, patterns, or favorite characters.
2. Engrave the Design: Use the laser cutter to engrave the chosen designs onto the wooden strips.
3. Cut the Bookmarks: Precisely cut out the bookmark shapes along the engraved lines.
4. Smooth the Edges: Sand all edges to make the bookmarks comfortable to handle and safe for use with books.
5. Decorate: Let children paint or decorate their bookmarks, adding colors and personal touches.
6. Add Finishing Touches (Optional): Punch a hole at the top and attach a ribbon or tassel for an added decorative element.
Educational Benefits:
· Promotes reading and literacy by creating personalized bookmarks.
· Encourages fine motor skills through detailed decorating.
· Teaches attention to detail and precision.
8. Engraved Wooden Clocks
Materials Needed:
· Round wooden boards
· Laser cutter
· Clock mechanism kit (includes hands and movement)
· Numbers or clock markers (optional)
· Non-toxic paints or markers
· Sandpaper
How to Make:
1. Design the Clock Face: Create a circular design with numbers or simple markers around the perimeter. Incorporate favorite themes or characters if desired.
2. Engrave the Design: Use the laser cutter to engrave the clock face onto the wooden board.
3. Cut Out the Circle: Precisely cut the wooden board into a perfect circle.
4. Smooth the Edges: Sand the edges to ensure the clock is safe to handle.
5. Decorate: Allow children to paint or color their clock face, adding personal touches and creativity.
6. Assemble the Clock: Attach the clock mechanism to the center of the wooden board and secure the hands. Ensure the mechanism is functioning correctly.
7. Display: Hang the custom clock in a child’s room or a common area for a functional and decorative piece.
Educational Benefits:
· Teaches basic concepts of time and clock mechanics.
· Enhances creativity through design and decoration.
· Encourages precision in assembling functional items.
Safety Tips When Using Laser Engravers with Kids
While laser-engraving wood projects offer fantastic opportunities for creativity and learning, safety must always be a top priority, especially when working with children. Here are essential safety tips to ensure a secure crafting environment:
Adult Supervision: Always supervise children when operating or working near laser engravers. Kids should never handle the laser machine without explicit adult guidance.
Proper Training: Ensure both adults and children understand how to use the laser engraver safely. Familiarize everyone with the machine’s operation manual and safety protocols.
Protective Gear: Use safety goggles to protect eyes from potential laser reflections. Ensure proper ventilation in the workspace to avoid inhaling fumes from engraving materials.
Material Selection: Choose child-safe materials and avoid woods that produce toxic fumes when laser engraved. Common safe options include plywood, MDF, and certain hardwoods, but always check the manufacturer’s guidelines.
Handling Finished Pieces: After engraving, inspect all edges and surfaces to remove any sharp areas. Sanding finished pieces ensures they are safe for children to handle.
Workspace Organization: Keep the workspace clean and free from clutter. Ensure that cords and other hazards are out of reach of children.
Fire Safety: Have a fire extinguisher nearby, as laser engravers can pose fire risks if not used correctly. Never leave the machine unattended while it is operating.
Conclusion
Laser-engraving wood DIY projects provide a perfect blend of technology and creativity, offering children engaging and educational activities that nurture their artistic talents and technical skills. From personalized name plaques and custom puzzles to interactive storyboards and functional items like clocks and magnets, the possibilities are endless. These projects not only entertain but also teach valuable lessons in design, precision, and responsibility.
By incorporating laser engraving into DIY activities, parents and educators can introduce children to modern crafting techniques, making woodworking accessible and enjoyable for the younger generation. Additionally, emphasizing safety and supervision ensures that these creative endeavors remain secure and positive experiences for all involved.
Embracing laser-engraving wood projects opens up a world of imaginative possibilities, allowing children to create meaningful and personalized items that they can take pride in. Whether it’s a gift for a loved one or a handmade treasure for their own use, these projects foster a sense of accomplishment and inspire a lifelong appreciation for craftsmanship and creativity.