
With the arrival of spring and the landscape bursting into a kaleidoscope of colours, we find ourselves inspired to bring the season into our homes and classrooms. Tulips, with their elegant stems and beautiful array of hues, become a natural muse for an array of delightful tulip crafts. Engaging in tulip-themed craft projects is not only a way to celebrate the season but also an opportunity to ignite our creativity and share the joy that these spring flowers represent.
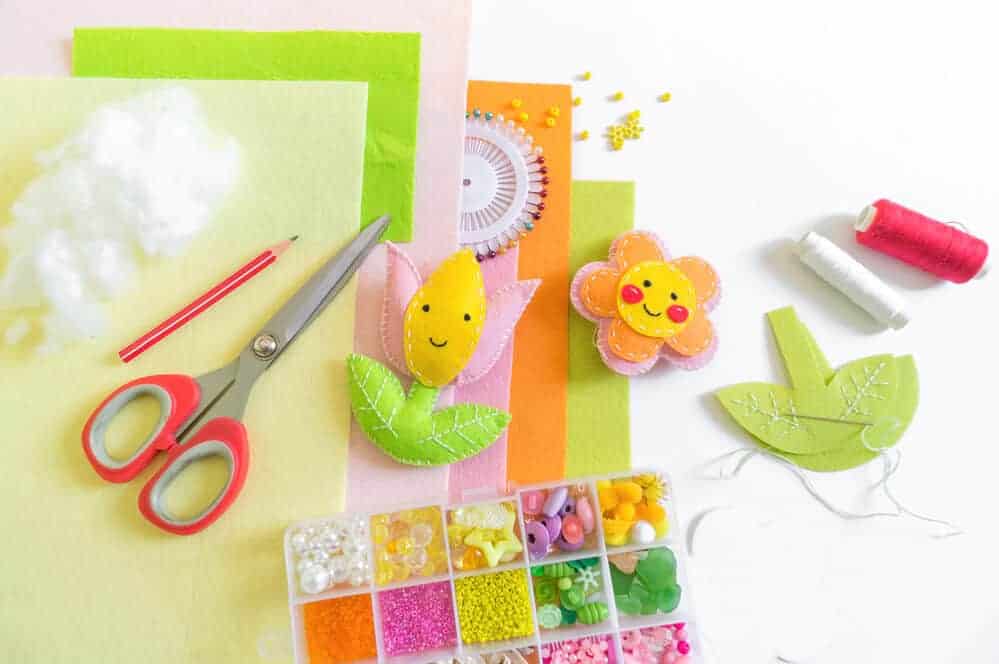
Crafting tulips can take many forms, from simple yet striking paper creations to cleverly repurposed household items given a new life as bright, blooming flowers. Whether we are adept at crafting or novices eager to try, there’s a tulip craft that fits our skill level and taste. We lean into the versatility of these crafts, proud that we can fashion something both beautiful and tangible that encapsulates the essence of spring.
Our exploration of these crafts is more than just an artistic pursuit; it’s a chance to hone our fine motor skills and encourage the little ones among us to participate in hands-on activities. The process of transforming paper, yarn, felt or even recycled materials into tulips can be a joyful learning experience. We take pride in these eco-friendly projects that not only teach us about upcycling but also allow us to adorn our surroundings with symbols of seasonal beauty. In this blog post today, I’m hoping to inspire you to get the crafting materials out and show us your Tulip designs!
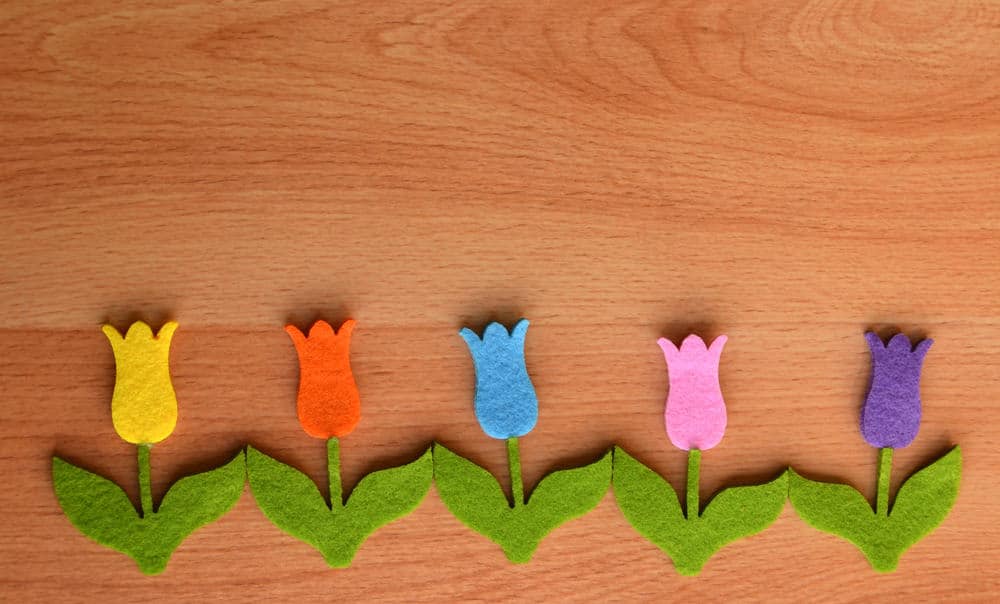
Advanced Tulip Crafting Techniques
In this section, we’re delving into sophisticated methods to create stunning tulip crafts that go beyond basic techniques. We’ll cover how to achieve lifelike floral designs, experiment with textures and colours, and create crafts suited for special occasions.
Creating Realistic Floral Designs
To craft realistic d paper tulips, attention to detail is crucial. We start by precisely cutting petal shapes, aiming for varied sizes to mimic nature’s diversity.
Shading and veining with fine brushes or colour pencils add depth, making the tulips appear more lifelike. Introducing subtle gradients with a one-step dye offers a natural look. Petals may be gently curled or crinkled to imitate the true form of a tulip flower.

Exploring Texture and Colour
We achieve vibrant colours in our tulip crafts by using high-quality pigments that reflect the varied hues found in nature. For texture, the use of different materials such as crepe paper, tissue paper, or even fabric can provide a unique feel to each creation. Mixing mediums, such as incorporating beads or fine threads, can add detail and interest to the tulip centres.
| Technique | Application | Outcome |
|---|---|---|
| Layered Dyeing | Apply multiple dye layers | Achieve depth and gradient in petal colours |
| Embedding Textures | Press materials into paint or glue | Create tactile surfaces replicating flower texture |
| Mixed Media Accents | Add embellishments like sequins | Enhance realism with reflective dew-like spots |
Crafting for Special Occasions
For special tulip crafts, we may incorporate elements such as LED lights for a glow effect in centrepieces or bouquets. Personalising crafts with monograms or dates transforms a simple tulip design into a memorable gift for events like weddings or anniversaries. Introducing themed colours and integrating other floral elements creates cohesive and themed arrangements.
Example of Special Occasion Tulip Craft:
- Wedding Centerpiece: Combine d paper tulips in white and soft pastels, illuminated with delicate fairy lights. Add sprigs of greenery and golden accents for a touch of luxury.
Elegant Paper Tulip Wedding Centerpiece Guide
Materials Needed:
1. White and soft pastel-colored paper (for tulips)
2. Pipe cleaners (green for stems)
3. Craft glue or glue gun
4. LED fairy lights
5. Faux greenery sprigs
6. Small golden accents (e.g., decorative beads, ribbon, or gold-painted twigs)
7. Vase or container
8. Scissors
Instructions:
Step 1: Craft Paper Tulips
– Choose white and soft pastel-colored paper for a delicate and elegant look.
– Cut out tulip shapes from the paper. Experiment with different sizes and petal shapes for variety.
– Craft tulip centers using contrasting paper or add a small golden accent for a touch of luxury.
Step 2: Form Tulip Stems
– Cut green pipe cleaners to the desired length for the tulip stems.
– Attach each paper tulip to a pipe cleaner using craft glue or a glue gun. Ensure a secure bond between the paper and the pipe cleaner.
Step 3: Arrange the Tulips in a Vase
– Take a vase or container of your choice and arrange the paper tulips in a cluster. Vary the heights for a more dynamic look.
– Secure the tulip stems in the vase, ensuring they are evenly distributed and form a visually appealing bouquet.
Step 4: Add LED Fairy Lights
– Intertwine delicate LED fairy lights among the paper tulips. Ensure the battery pack is discreetly hidden within the arrangement.
– Turn on the fairy lights to add a magical and romantic ambiance to the centerpiece.
Step 5: Incorporate Faux Greenery
– Insert faux greenery sprigs between the paper tulips to add a touch of natural freshness. This complements the soft pastel colors of the tulips and adds depth to the arrangement.
Step 6: Enhance with Golden Accents
– Introduce small golden accents to elevate the centerpiece’s elegance. This could include tying golden ribbon around the vase, incorporating gold-painted twigs, or adding golden beads among the tulips.
Step 7: Adjust and Personalize
– Step back and assess the overall arrangement. Make any necessary adjustments to ensure a balanced and cohesive look.
– Personalize the centerpiece further by incorporating additional elements that match the wedding theme or color scheme.
Step 8: Display and Enjoy
– Place the completed centerpiece in a prominent location, such as the dining tables at the wedding reception.
– Allow the soft glow of the fairy lights to create a warm and inviting atmosphere, setting the perfect tone for the celebration.
This elegant paper tulip wedding centerpiece combines simplicity with a touch of luxury, creating a beautiful focal point for the special occasion.
As school time fills the days, it’s the perfect opportunity to explore beautiful paper tulips as a paper craft project after school. One of the favourite crafts is the paper tulip flower craft, which captures the essence of the spring season. With step-by-step instructions readily available below, children can create stunning d paper tulips that offer a 3D effect, bringing the beauty of a garden into the classroom.
Favorite Tulip Crafts
One fun craft to try is making an origami tulip. Origami, the art of paper folding, can be easy peasy and quite satisfying. With a few selected items such as colorful paper, kids can fold their own tulips. The process of turning a flat sheet into a three-dimensional flower is not only engaging but also helps enhance children’s fine motor skills and concentration.
Simple Origami Tulip Instructions

Materials Needed:
1. Square origami paper (colored or patterned)
2. Flat surface for folding
Instructions:
Step 1: Choose Your Paper
– Select a square sheet of origami paper. If you don’t have origami paper, you can cut a square from regular colored or patterned paper.
Step 2: Start with a Square Base
– Begin with the colored side facing down if your paper has one.
– Fold the paper in half diagonally, crease well, and unfold.
– Repeat the process in the opposite direction, crease, and unfold.
Step 3: Create a Preliminary Base
– Flip the paper to the other side.
– Fold it in half horizontally and unfold.
– Fold it in half vertically and unfold.
– You should now have an “X” crease on the paper.
Step 4: Collapse into a Square Base
– Bring all four corners of the paper to the center, creating a smaller square.
– Flatten the paper into a square base by pressing down on the folds. Your model should resemble a smaller square with four triangular flaps.
Step 5: Form the Tulip Base
– Fold the top layer of the top flap down to the center of the square base. Repeat this for all four flaps, forming a smaller square again.
Step 6: Create Petals
– Lift the outer edges of each flap and fold them towards the center, creating triangular petals. This forms the tulip flower.
Step 7: Shape the Tulip
– Adjust the angles of the petals to give your tulip a more natural look. You can gently curve or fold the edges of the petals outward.
Step 8: Finish the Stem
– Fold the bottom part of the tulip upward to form the stem. Adjust the length according to your preference.
Step 9: Complete Your Origami Tulip
– Your origami tulip is now complete! Stand it upright and display your beautiful paper creation.
Experiment with different colors and sizes of origami paper to create a bouquet of tulips. Once you’ve mastered the basic tulip, you can explore variations and more intricate designs. Enjoy the art of origami!
For a more tactile experience, you can use green paper to craft the stems and leaves, adding a touch of vibrant colors to the mix. Crafting your own tulips allows for creativity and the joy of making something beautiful with your hands.
Creating 3D paper tulips is a fun craft that can bring the beauty of spring indoors
Here’s a step-by-step guide to making your 3D paper tulips:
Materials Needed:
– Colored paper (preferably in vibrant tulip colors)
– Green paper for the stems and leaves
– Scissors
– Glue
– Optional: wire or pipe cleaners for added stem support
Instructions:
Step 1: Create the Tulip Petals
– Cut a piece of colored paper into a square.
– Fold the square diagonally to form a triangle.
– Fold the triangle in half again to create a smaller triangle.
– Draw an arc from one corner of the triangle to the opposite side to create the tulip shape.
– Cut along the arc and unfold the paper to reveal the tulip shape with four petals.
Step 2: Form the 3D Effect
– Take another piece of the same colored paper and cut out another tulip shape.
– Fold this second tulip shape in half and apply glue on one side.
– Stick the folded tulip shape onto one side of the unfolded tulip shape, matching the edges to create a 3D effect.
Step 3: Create the Stem and Leaves
– Cut strips of green paper for the stem.
– If you want a thicker stem, roll the strip and glue it to secure.
– Cut out leaf shapes from the green paper.
Step 4: Assemble the Tulip
– Glue the bottom of the 3D tulip petals to the top of the stem.
– Attach the leaves to the stem by folding a small part of the base of the leaf and glueing it.
Step 5: Add Support (Optional)
– For added support, you can insert a piece of wire or a pipe cleaner inside the paper stem.
Step 6: Final Touches
– Fluff out the petals to enhance the 3D effect.
– Adjust the leaves to your liking.
Your 3D paper tulip is now complete! You can create a bouquet of these by making several in different colors and arranging them together. This craft is great for decorating your home, using it as a centerpiece, or giving it as a gift. Enjoy your beautiful, handcrafted tulips!
Creating tulips from recycled household items can be a fun and eco-friendly art projects
Kid’s easy toilet roll holder tulip craft

Tulip crafts with recycled bottles
Follow these step-by-step instructions to make your own recycled tulips:
Materials Needed:
1. Empty plastic bottles (various sizes and colors)
2. Acrylic paint or spray paint
3. Paintbrushes
4. Craft paper or cardstock
5. Green pipe cleaners
6. Scissors
7. Hot glue gun and glue sticks
8. Pencil
9. Pot or vase
10. Decorative stones or beads (optional)
Instructions:
Step 1: Gather Materials
– Collect all the materials you’ll need for this project. Make sure to choose plastic bottles of different sizes and colors for variety in your tulip bouquet.
Step 2: Clean the Bottles
– Rinse and clean the plastic bottles thoroughly to remove any residue or labels. Let them dry completely before moving on to the next step.
Step 3. Cut the Bottles
– Using scissors, carefully cut the tops off the plastic bottles. You’ll want to cut just above the point where the bottle starts to narrow. These will become the petals of your tulips.
Step 4: Create Petal Shapes
On a flat surface, lay the cut plastic pieces and use a pencil to draw petal shapes on them. Tulip petals are elongated and taper towards the top. Cut along the lines to create the petal shapes.
Step 5: Paint the Petals
Apply acrylic paint or spray paint to the plastic petals. You can choose traditional tulip colors like red, pink, yellow, or get creative with a variety of colors. Allow the paint to dry completely.
Step 6: Prepare Stems
Take the green pipe cleaners and cut them to the desired length for your tulip stems. Bend one end of each pipe cleaner slightly to mimic the look of a natural tulip stem.
Step 7: Attach Petals to Stems
Using a hot glue gun, attach the painted petals to the unbent end of each pipe cleaner. Start with the largest petals at the bottom and gradually add smaller ones as you move up the stem. Press the petals firmly onto the pipe cleaner to secure them.
Step 8: Create Leaves
Cut leaf shapes from green craft paper or cardstock. Attach the leaves to the stems using the hot glue gun, positioning them just below the tulip petals.
Step 9: Arrange the Tulips
Place the finished tulips in a pot or vase. If desired, add decorative stones or beads to the bottom of the container to stabilize the arrangement.
Step 10: Display Your Recycled Tulips
Find a suitable spot to display your beautiful recycled tulips. They make a lovely centerpiece or a thoughtful handmade gift.
Enjoy your eco-friendly and colorful tulip bouquet made from recycled household items!
For first-grade students, simple materials like egg cartons, white paper, and toilet paper rolls can be transformed into a flower craft that not only looks beautiful but also helps develop their fine motor skills. Using a tulip template, they can follow a step-by-step tutorial to create realistic paper flowers, such as a beautiful rose or a mandala flower. This art project may require adult supervision, especially when using scissors.
Simple Tissue Paper Tulip Craft (you can use crepe paper too!)
For a tissue paper tulip craft, vibrant colors can be chosen to mimic the real flowers that bloom during this time of year. Adding a tulip colouring page to the mix can provide a fun activity for kids.
Materials Needed:
1. Colored tissue paper (green for stems and leaves, and various colors for tulip petals)
2. Pipe cleaners (green for stems)
3. Craft glue or glue stick
4. Scissors
5. Pencil
6. Small vase or container (optional)
Instructions:
Step 1: Gather Materials
Collect all the materials needed for the craft. Make sure you have a variety of colored tissue paper for the tulip petals, green tissue paper for stems and leaves, pipe cleaners for the tulip stems, craft glue or glue stick, scissors, and a pencil.
Step 2: Prepare Tulip Petals
– Select the color of tissue paper you’d like for the tulip petals.
– Cut a rectangle of tissue paper, approximately 5×7 inches (12×18 cm).
– Stack 5-7 sheets of tissue paper together and fold them accordion-style, making folds about 1 inch (2.5 cm) wide.
Step 3: Shape Tulip Petals
– Once you’ve folded the tissue paper accordion-style, round off both ends of the folded stack with scissors. This will create a petal shape when unfolded.
Step 4: Create Tulip Center
– Cut a small square of tissue paper in a different color (if desired) for the tulip’s center.
– Crumple the square to create a small, textured center for the tulip.
Step 5: Assemble the Tulip
– Unfold the accordion-folded stack of tissue paper carefully.
– Place the crumpled tissue paper square in the center.
– Gather the unfolded tissue paper in the middle, creating a bunch, and secure it with a piece of pipe cleaner. This will be the base of your tulip.
Step 6: Form the Stem
– Cut a piece of green pipe cleaner to the desired length for the stem.
– Attach the pipe cleaner to the base of the tulip by twisting it around the gathered tissue paper.
Step 7: Add Leaves
– Cut leaf shapes from green tissue paper.
– Attach the leaves to the stem using glue or by wrapping them around the pipe cleaner.
Step 8: Arrange in a Vase (Optional)
– If you’d like, place your tissue paper tulips in a small vase or container for display.
Step 9: Repeat and Experiment
– Repeat the process to create more tulips in different colors and sizes.
– Experiment with different color combinations and petal shapes to create a bouquet/basket of vibrant tissue paper tulips.
Step 10: Display Your Creation
– Once you’ve crafted a few tissue paper tulips, display your colorful bouquet in a vase or basket and give them as a thoughtful handmade gift to brighten someone’s day!

Older or bigger kids may enjoy more complex flower craft ideas, such as creating moon gardens in a rockery. Mother’s Day crafts can also be a special way to spend time together, with children of all ages creating something heartfelt for their loved ones.
Whether it’s through flower coloring pages or crafting paper tulip flowers, the joy of making something with your hands never fades. And for those looking for a bit of guidance, Crafty Morning offers tulip craft ideas that are sure to inspire creativity in everyone. With these resources, crafting beautiful paper tulips becomes not just a fun activity, but a cherished memory.
Complex tulip craft ideas
Here’s a list of more complex tulip craft ideas that involve various techniques and materials:
1. Quilled Paper Tulips:
– Create intricate tulips using quilling strips to form the petals and stems. Experiment with different quilling techniques for added detail.
2. Fabric Tulip Sculptures:
– Craft tulips using fabric and wire. Cut and sew petals, then attach them to flexible wire stems for a more realistic and textured look.
3. Clay Tulip Pottery:
– Sculpt tulip flowers and stems from air-dry or polymer clay. Paint and glaze the finished pieces for a lasting tulip display.
4. Embroidered Tulip Pillow:
– Design and embroider a tulip pattern onto a fabric pillow cover. Experiment with different stitching techniques to create a textured and visually appealing surface.
5. Wooden Tulip Wall Art:
– Cut tulip shapes from wood and paint them in vibrant colors. Arrange the wooden tulips on a wooden board or canvas to create unique and dimensional wall art.
6. Tulip Decoupage Planter:
– Decorate a planter with tulip-themed decoupage. Cut tulip images from decorative paper or napkins and adhere them to the planter, then seal with a decoupage medium.
7. Felt Tulip Brooches:
– Craft delicate tulip brooches using colored felt. Cut and layer felt pieces to create petals and attach a pin to the back for wearable floral accessories.
8. Tulip String Art:
– Design a tulip pattern for string art on a wooden board. Hammer nails into the board following the pattern, then wrap colorful string around the nails to form the tulip shape.
9. Tulip Beaded Jewelry:
– Create beaded tulip jewelry using seed beads and wire. Experiment with different bead patterns to craft earrings, necklaces, or bracelets inspired by tulip flowers.
10. Tulip Stained Glass Craft:
– Craft tulip-shaped stained glass ornaments using colored tissue paper and black construction paper. Attach the pieces to a window for a beautiful stained glass effect.
11. Tulip Embossed Greeting Cards:
– Make elegant greeting cards with embossed tulip designs. Use embossing powders and a heat tool to create raised and glossy tulip patterns on cardstock.
12. Tulip Watercolor Painting:
– Explore watercolor techniques to paint a stunning tulip bouquet on watercolor paper. Experiment with color blending and shading for a vibrant and realistic result.
Remember to adapt these ideas to your skill level and preferences. Complex crafts may require additional tools and time, so enjoy the creative process and have fun experimenting!
Spring is the perfect time to engage in flower crafts, especially when tulips, one of the favorite flowers of the season, are in full bloom. Crafting with tulips can be much fun for kids of all ages, and there’s no better way to celebrate the season than by creating beautiful tulip crafts.
Whether you’re looking for a simple project for preschoolers or a more complex craft for older kids and adults, tulip crafts are a delightful way to welcome spring. So gather your materials, and get ready to have a blooming good time creating your own beautiful tulip crafts!
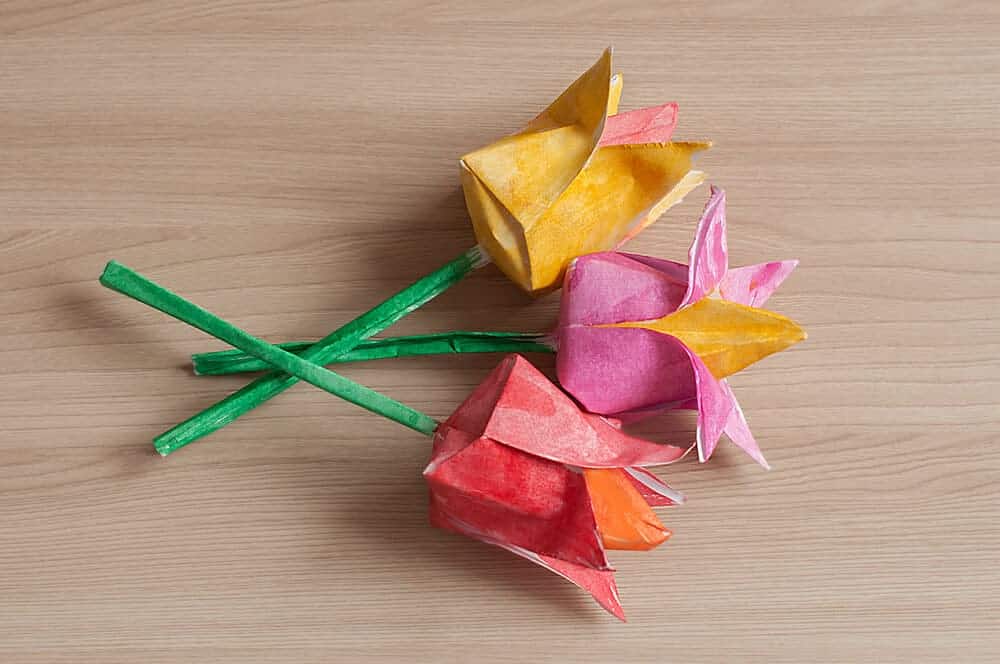
Frequently Asked Questions
In this section, we address common inquiries regarding tulip crafts, providing insight into the materials needed, how to get started, and ideas that are both child-friendly and suitable for beginners.
What materials are needed for creating tulip crafts suitable for adults?
For adult tulip crafts, we suggest high-quality fabric paints, tie-dye kits, or fabric markers for personalising textiles. Adding elements such as faux stems or leaves can enhance the realism of the craft.
How can you involve children in making simple tulip-themed crafts?
Children can engage in making tulip crafts by using safe, washable paints and constructing tulip shapes from simple materials like paper plates or construction paper. Guidance is key to ensuring a fun and educational experience.
What are some tulip craft activities appropriate for preschoolers?
Preschoolers can enjoy creating tulip suncatchers or finger painting with non-toxic paints. These activities not only foster creativity but also help improve their fine motor skills.
Could you suggest essential supplies for a beginner starting with tulip crafts?
Beginners should start with basic supplies such as coloured paper, safety scissors, glue, and water-based markers. These items are versatile and form the foundation for many tulip craft projects.
What are some easy-to-follow tulip crafting projects for beginners?
For those new to tulip crafts, making a plastic spoon tulip or a paper tulip bouquet offers a straightforward introduction. These projects require minimal materials and are easy to put together.
How do you incorporate tulip colours effectively in crafting projects?
Referencing a colour palette inspired by real tulip varieties can help you select vibrant hues to make your tulip crafts stand out. Consider blending shades to mirror the natural gradation you might see in a tulip petal.