
Installing Oval above ground pools may seem easy to some people and more difficult to others. But one thing is sure; it is much more than installing round pools because you may have to reinforce all the flat sides of oval pools. This may mean more steps and procedures need to be carried out. You need to know that it is possible and achievable to install oval above ground pools by yourself.
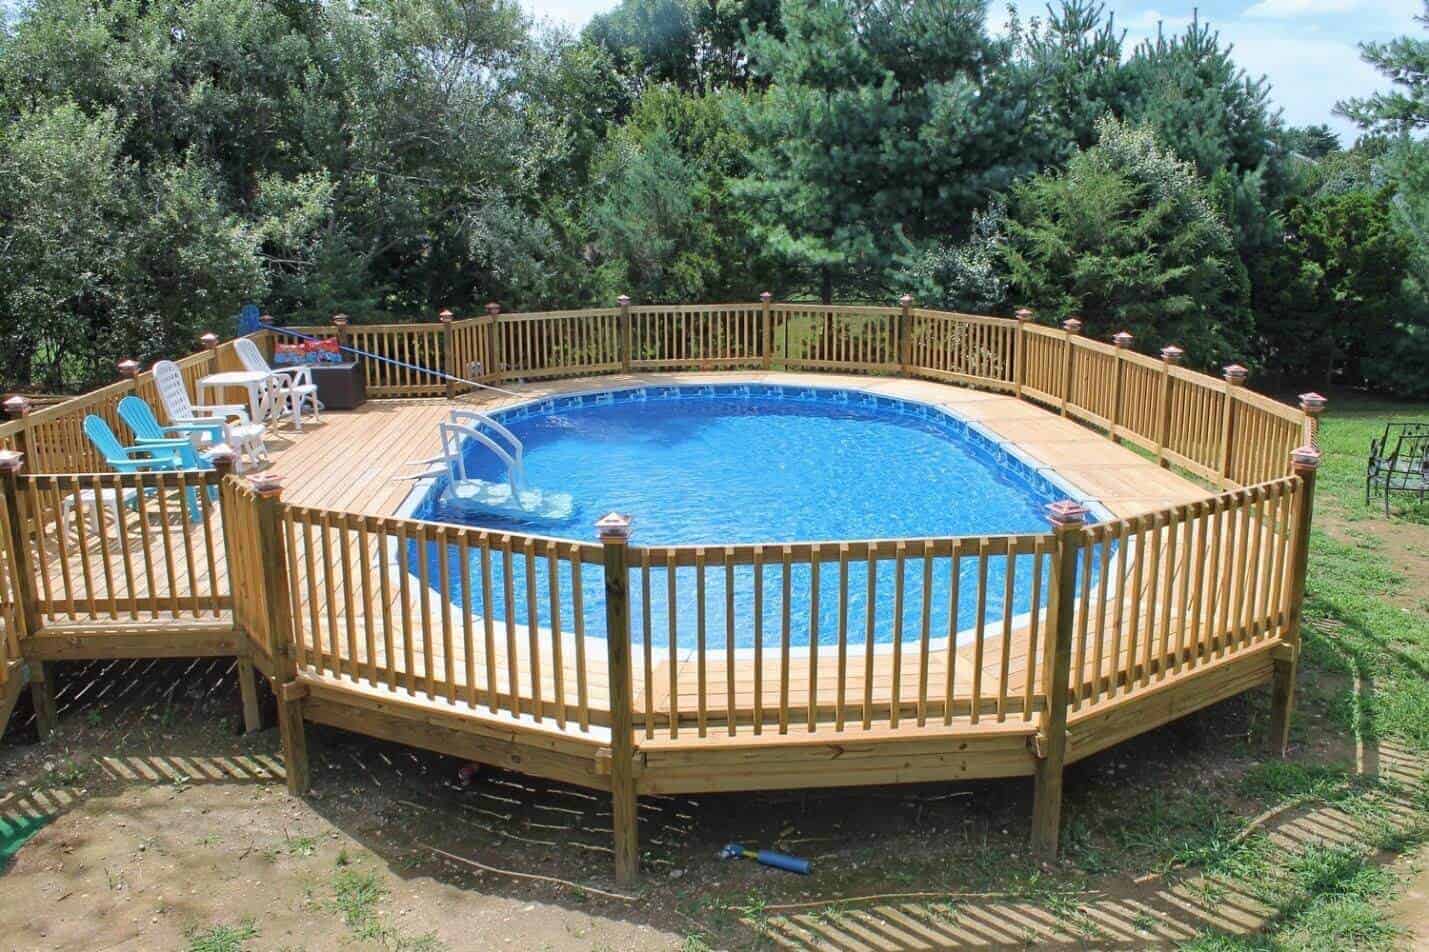
Putting a little time and effort into installing one can save you a ton of money. Everyone knows what an outdoor bath is, so let’s not waste any more time describing it. But just to make sure, you can check this page for how you could benefit from fitting one at home. Moving over to more important things, we will be looking at how to install an oval above ground basin.
Steps to Follow When Installing Oval Above Ground Pools
Since the process is a little complicated, we will be breaking it into easier steps to help you understand the process better. So, in the right order, the steps include;
Gathering all your Supplies and Tools Before Commencing the Process
Before you begin installing above-ground baths, you need to make a list of all the materials and tools needed for its construction. After making a list, you should acquire them. Below are some of the tools and supplies needed for the installation;
- Drill.
- Shop-Vac.
- Sod remover (can also be rented).
- Transit (can be rented).
- Patio blocks (which may not be necessary but can help make the process a lot easier).
- Skimmer.
- Filter.
- Sand (fine sand which can be easily compacted is preferred).
- Duct tape.
- Wrench (5/16 and 1/4).
- A screwdriver (Phillips’s head).
- Trowel.
- Rake.
- Shovel.
- Level.
- Tape measure.
Confirm that you Have the Full Pool Package
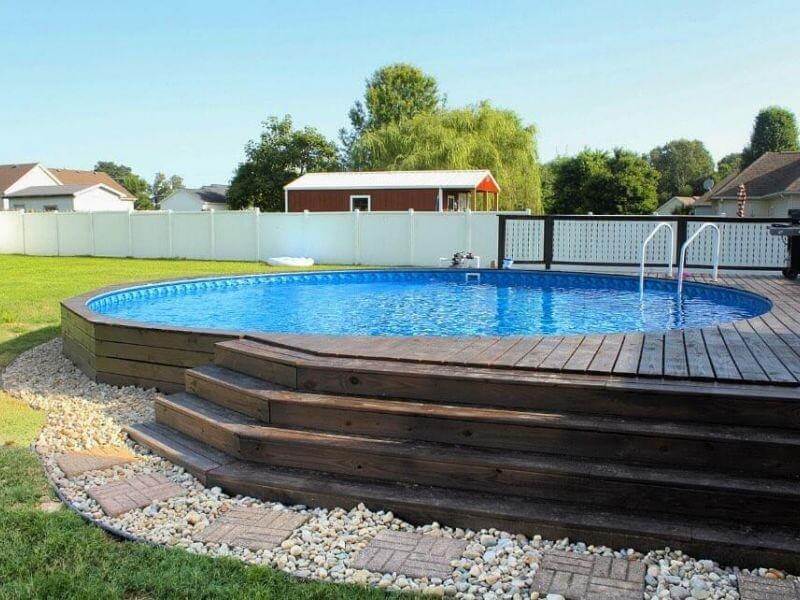
You would not want to be going around looking for any missing materials when you are ready to start work. Confirm that all the packing materials have been gathered before starting work. After opening the package to ensure everything is in place, do not mix up the different nuts and screws, and avoid dropping or losing any pieces.
Start the Groundwork
First, you need to ensure that the ground level is okay and prepare it for construction. Above ground, bath planning involves choosing the right area and obtaining all the necessary paperwork required to install one. This is a vital step, as it would ensure that your basin is structurally sound and safe for use.
Rent a transit, use long, straight boards to measure the ground level, ensure every area of the pool is within an inch of perfect level, and dig down areas that are higher, so the pool does not settle over time. Use a measuring tape to get an accurate measurement of the pond perimeter, remove sod, and use a rake to rake the area to remove any grass, rocks, roots, or debris that is left over.
Install a floor pad if the ground is made of clay, and note that you cannot install an oval pool on floors made of concrete, and be sure that it is level across all perimeters.
Actual Construction of the Pool
- Adhere to instructions that come with the pond package as the brand, size, and type of basins have their various instructions. You will use plates, rails, and stabilizers for the construction—process to build the pool’s bottom ring.
- Layout the parts and assemble them following the instructions given.
- Remember to always measure the track at the bottom in several positions to confirm that it is oval and within your set specifications.
- Stake the ring into its position. You should also support the base to keep it level and stabilized over time by following the laid down processes.
Install the Filling and Pool Liners
- Always apply extreme caution not to tear the liner when installing.
- Dry the liner for some hours in the sun to make it easier to lay out, and be sure to install it on a sunny and warm day.
- Wet the sand and rake it to ensure the base is level.
After fitting the stabilizer rails, the landscaping stakes can be taken down. Prevent trimming off the excess liner; instead, roll it up and take it near the pool wall top.
Follow the tips for installing the liners, plates, covers, and rails. When all is done, fill the pool halfway and install the filter and skimmer using the manual’s instructions. Apply all safety warnings before filling, and ensure the water level is one-third or halfway up the bath’s skimmer.
In the end, you will have yourself a backyard sized small oval above ground pool for outdoor recreation. This may seem like a whole lot, but with the tool package, the right tools, the user’s guide, and probably help from a professional, your outdoor bath should be up and running in no time.
Final Note
These outdoor baths have many recreational benefits, and the fact that you cannot dig a one below ground level should not stop you from enjoying these benefits.