
A fresh coat of paint can completely change the feel of your home. Just think of those brighter walls, cleaner corners, and that satisfying “new home” vibe. It’s impressive, right? But before you call in a crew, preparation is everything.
The best paint job isn’t just about color — it’s about the groundwork you do beforehand. In fact, smart prep saves money, time, and frustration. If you’ve ever seen someone painted in a rush and regretted the uneven finish or peeling results, you already know why it matters.
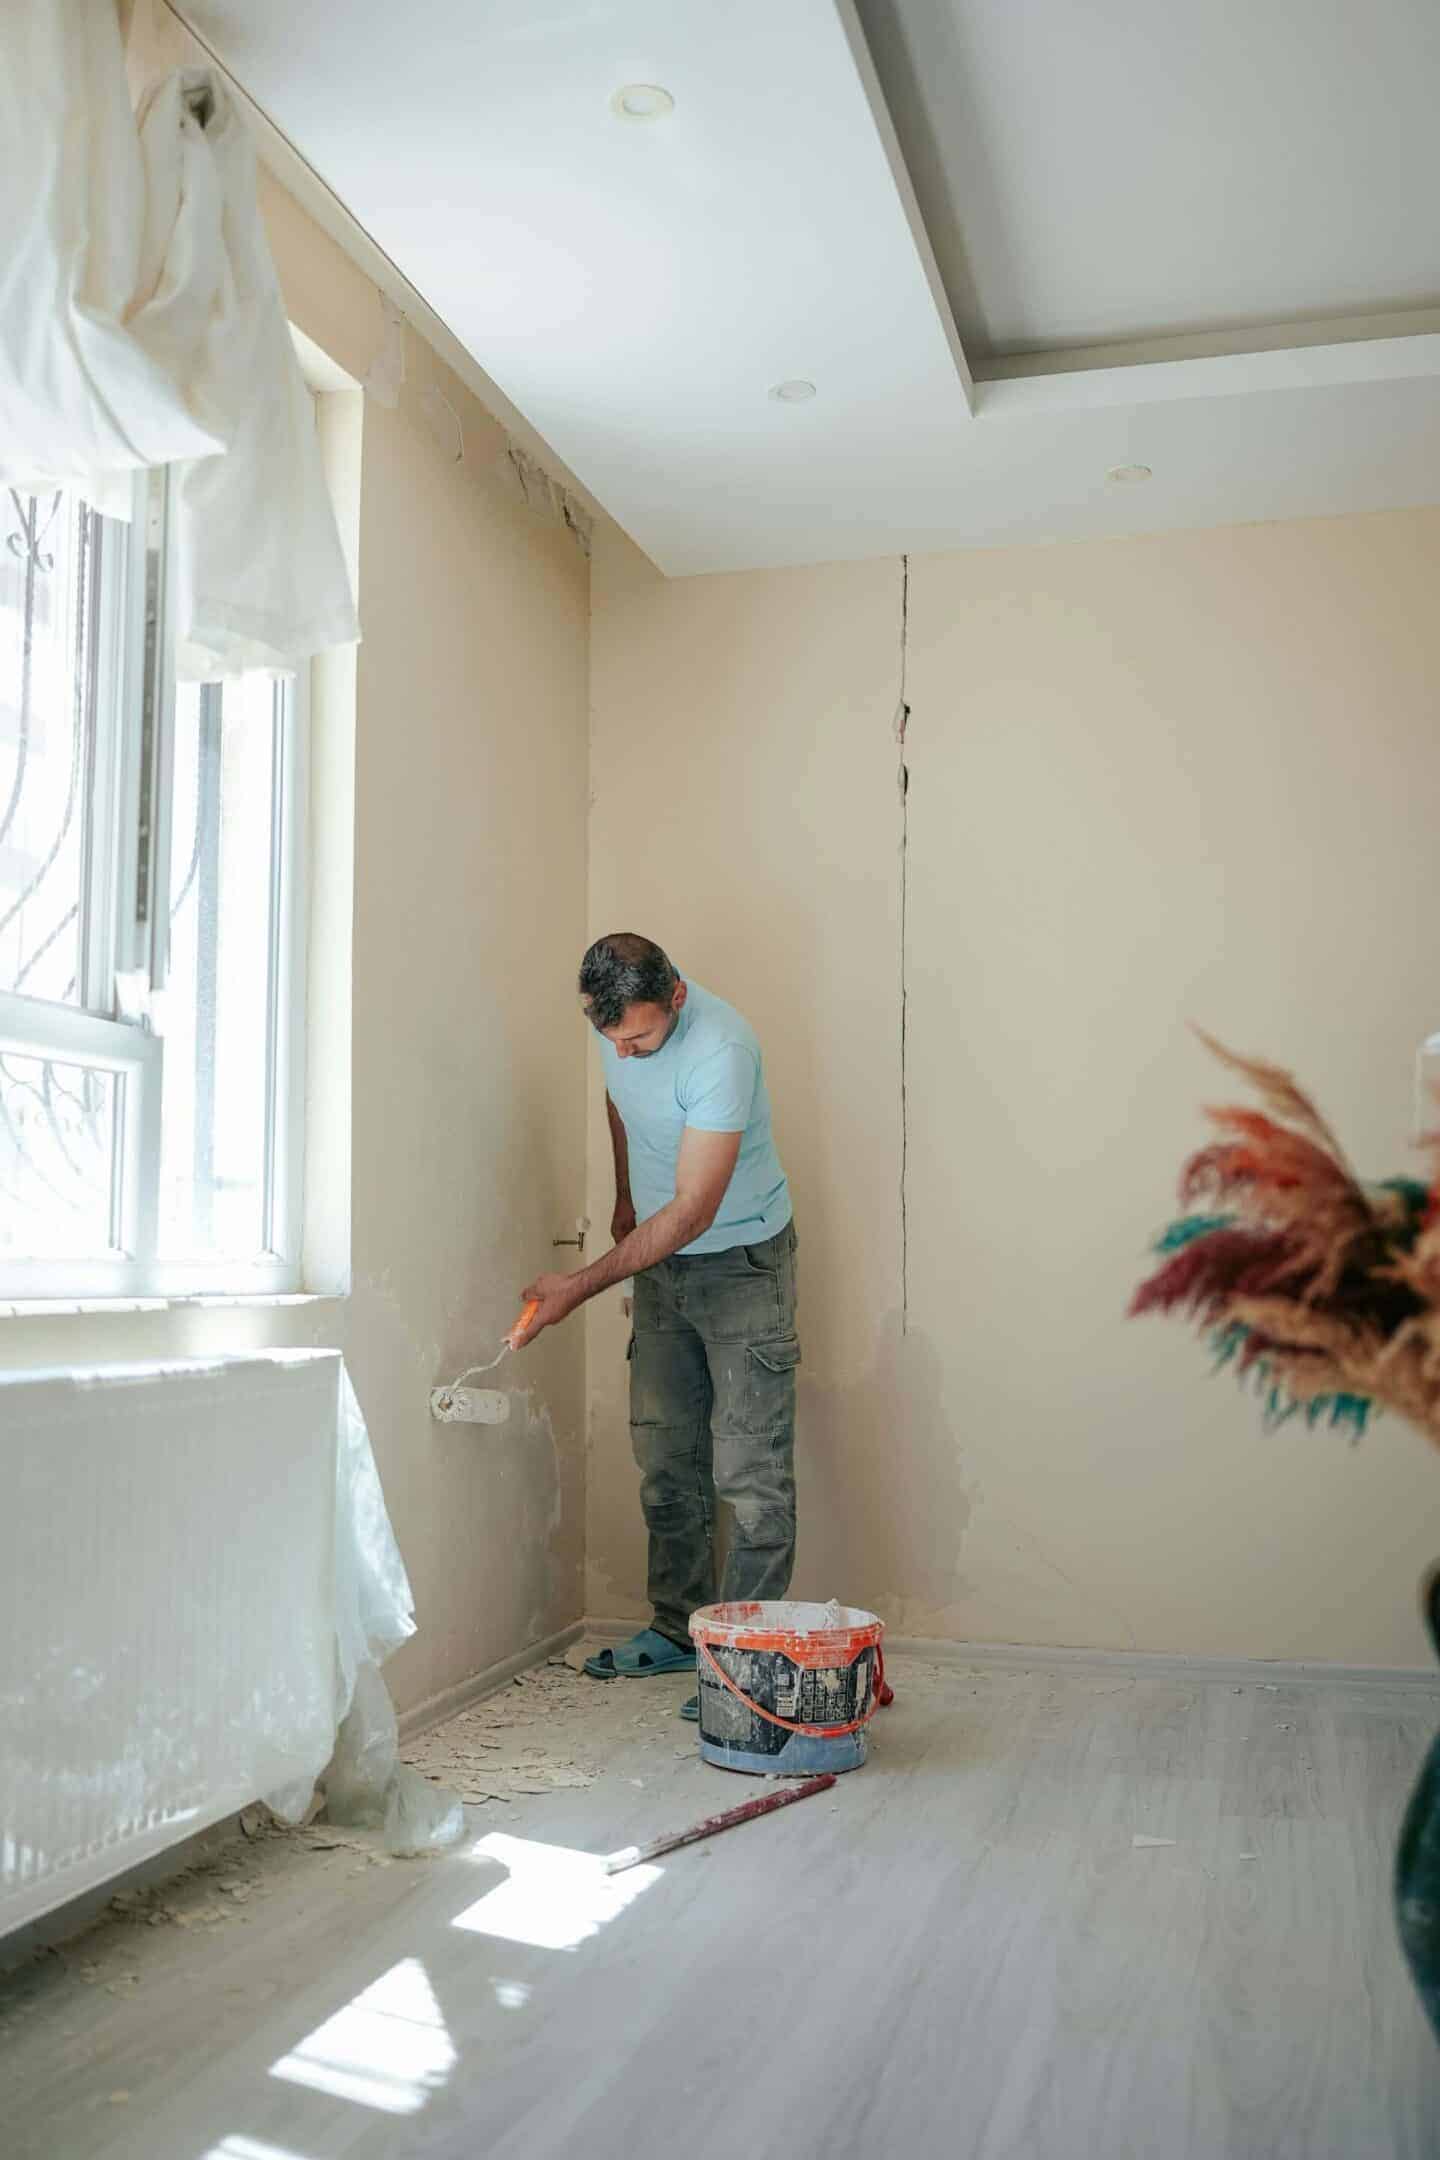
So, before diving into your next home refresh, here are some smart prep tips every homeowner should know.
1. Evaluate Your Walls Before You Paint
Before you even think about color swatches, take a close look at your walls. Tiny cracks, nail holes, or uneven textures are not a big deal now. But they’ll stand out even more once painted.
Here’s what to do first:
- Inspect for imperfections: Look for dents, bumps, and stains under natural daylight.
- Clean thoroughly: Dirt, grease, and dust can prevent paint from sticking properly.
- Repair any damage: Fill small holes with spackle and sand rough patches for a smooth surface.
- Check for moisture: Bubbling paint or mildew spots may indicate hidden leaks that need fixing before painting.
A smooth, dry surface ensures the paint adheres evenly and lasts longer. Skipping this step often leads to premature peeling and patchy finishes. And no one wants that after spending time and money on a makeover, right?
| Pro tip: Run your hand lightly across the wall. If it feels chalky or dusty, it needs cleaning before any primer or paint goes on. |
2. Choose the Right Painters and Communicate Clearly
Even the best paint won’t shine if it’s applied carelessly. Therefore, working with experienced local painters is a smart move. It not only ensures a professional finish but also saves you from costly DIY mistakes. For a fact, skilled painters like those at Bay-Valley Painting understand all surface types and the right products for each area of your home.
Why local professionals make a difference:
- They’re familiar with weather patterns that affect paint drying times.
- They use premium tools and materials, ensuring durability.
- They can advise on color coordination, finishes, and textures that complement your home style.
- You can easily check local reviews and past projects, adding trust and accountability.
Moreover, when working with professionals, communication is key. Discuss your goals, budget, and preferred timeline upfront to ensure a clear understanding. Share photos or references to help them understand the look you’re going for. All in all, a collaborative approach ensures your home turns out exactly as you envision it — with results that last for years.
3. Pick the Perfect Time (and Conditions)
Timing can make or break your painting project. Paint reacts differently depending on temperature, humidity, and ventilation. So, choosing the right conditions helps achieve a smoother, faster-drying finish.
Keep these conditions in mind before painting:
- Ideal temperature: Between 50°F and 85°F for most paints.
- Avoid rainy or humid days: Moisture slows drying and can cause bubbling.
- Ensure proper ventilation: Open windows and use fans to prevent fumes from building up.
- Plan for daylight: Good natural lighting helps spot missed spots and color variations.
If you’re doing interior painting, spring and early fall are often the best times. It’s because mild temperatures and lower humidity mean less waiting and better results. For exterior projects, always check the weather forecast first. Nothing ruins a new coat faster than a surprise rainstorm or extreme heat.
4. Plan Your Space
Preparation isn’t just about the walls — it’s about the whole environment. Before you start, clear the area as much as possible. Move furniture to the center of the room or another space entirely. If you’re carrying out a larger renovation, self storage can be a useful way to keep furniture and belongings out of the way. Protect your floors and decor from drips, splatters, or accidental spills.
A few essentials:
- Use drop cloths or plastic sheeting to cover the flooring.
- Remove switch plates and outlet covers for a clean edge.
- Tape trim, baseboards, and corners for crisp lines.
- Keep a wet rag nearby to wipe accidental smudges right away.
Proper setup saves cleanup time and keeps your furniture, floors, and fixtures safe. It also lets you focus entirely on the painting itself — not the mess afterward.
Conclusion
Painting your home should feel exciting, not stressful. And while color choice gets all the attention, preparation is where the magic really happens. Evaluating your walls, hiring trusted professionals, timing it right, and protecting your space ensure the results are as flawless as the finish itself.
So, before you dip that brush or roller, take a little extra time to plan. Whether you’re repainting a single room or refreshing your home’s entire exterior, these smart prep steps will help your paint job shine longer, look smoother, and truly feel worth the effort. After all, great painting isn’t just about color — it’s about care, craftsmanship, and the perfect start.