
Many homeowners consider the hallway to be nothing more than a functional transition space – a place to kick off muddy shoes, dump the mail, and rush through to the more inviting rooms of the house. Hallways are notoriously difficult to decorate because they are usually quite narrow, lack natural light, and see constant foot traffic. Paint scratches easily, and hanging too much artwork can make a small corridor feel crowded.
However, there is a low-cost, high-impact weekend DIY project that can completely transform this underutilised space: MDF wall panelling.
Installing feature batten walls or half-height wainscoting instantly adds architectural character, depth, and a bespoke, high-end feel to even the most basic hallway. This project is significantly less expensive than traditional solid timber joinery because it uses lightweight, pre-cut Medium Density Fibreboard (MDF).
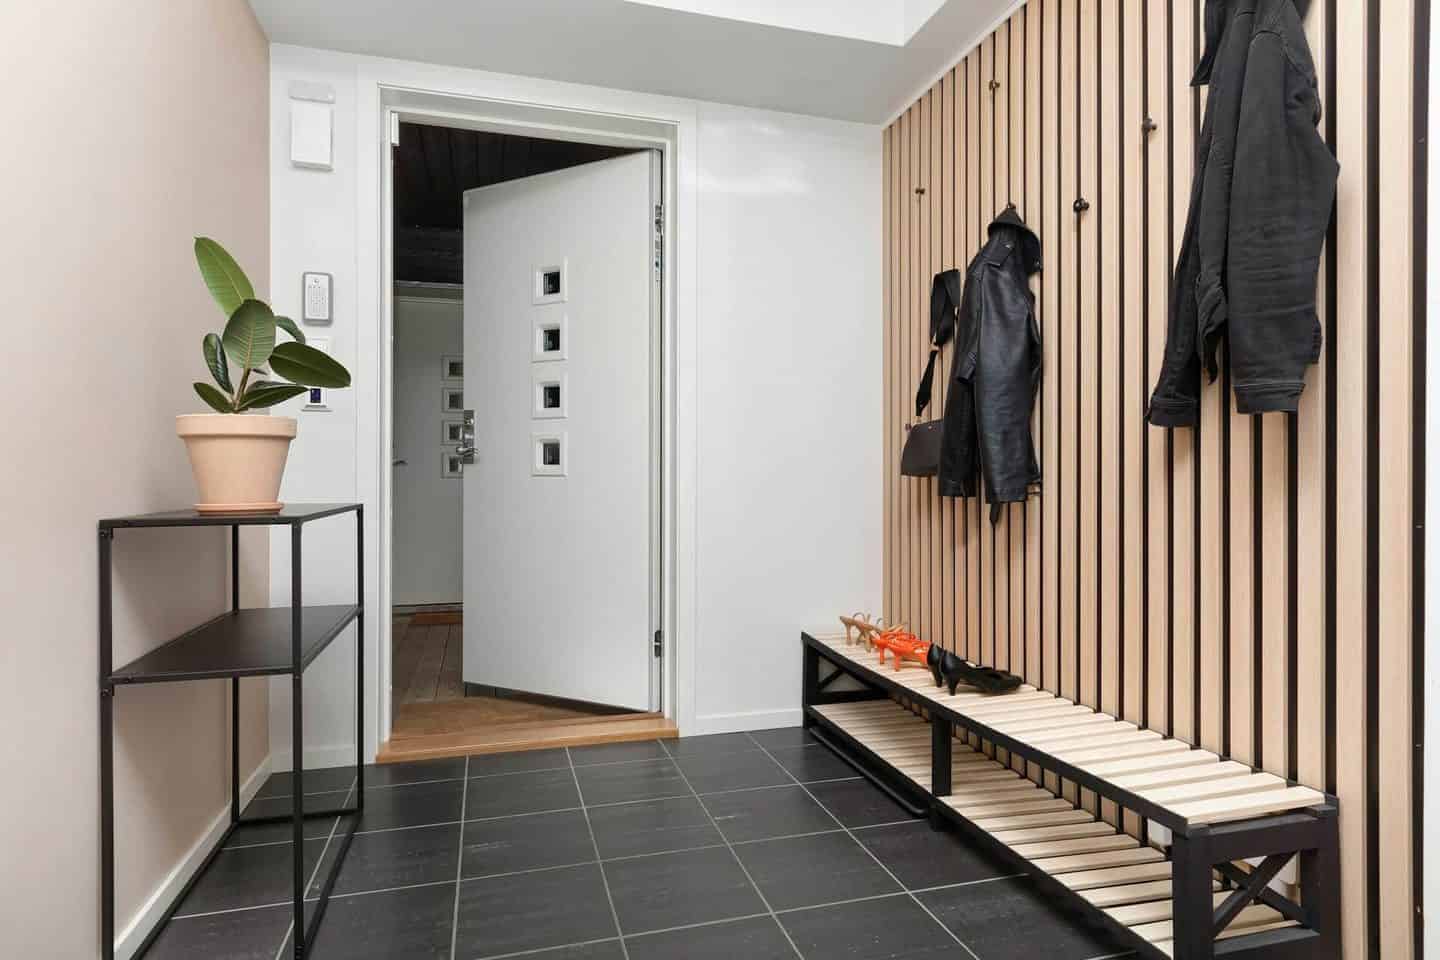
Choosing Your Hallway Panelling Style
Before purchasing your materials, you must decide on the aesthetic you wish to achieve. MDF panelling is extremely versatile, and the layout you select will determine the mood of the room.
- Modern Board and Batten (The Grid): This method entails installing vertical and horizontal strips of MDF to form a series of uniform squares or rectangles across the lower half or entire wall. It is currently the most popular trend in UK homes, with a clean, geometric, and contemporary aesthetic.
- Traditional Wainscoting: This style, which is commonly found in period properties, is reminiscent of traditional timber panelling. It usually covers the lower third of the wall, with a solid baseboard, vertical stiles, top rails, and a decorative dado rail to finish. It adds instant history and elegance.
- Vertical Shiplap: When you install thin, vertical MDF strips closely together from floor to ceiling (or floor to dado height), the eye is drawn upward. This is an excellent optical illusion for hallways with low ceilings, making the space feel noticeably taller and more spacious.
The Essential Panelling Toolkit
One of the most significant advantages of MDF panelling is that it does not require a garage full of heavy machinery to install. A professional, seamless finish can be achieved using a streamlined set of hand tools and modern adhesives.
| Tool / Material | Primary Purpose | Beginner Tip |
| Pre-Cut MDF Strips | The core material for the battens. | To avoid hours of sawing, have your local timber merchant cut a large MDF sheet into 9mm-thick, 50mm-wide strips. |
| Grab Adhesive | Bonding the MDF securely to the plaster. | Use a high-grab, solvent-free building adhesive to prevent the boards from sliding down the wall before they dry. |
| Alignment Tool | Ensuring all battens are perfectly straight. | A self-levelling cross-line laser is preferable to a manual spirit level for spanning long hallway walls. |
| Decorator’s Caulk | Sealing the gaps between the MDF and the wall. | Purchase a high-quality, paintable acrylic caulk. Silicone cannot be painted over and will damage your finish. |
| Wood Filler & Sandpaper | Smoothing out joints and nail holes. | Fine-grit (120-180) sandpaper is ideal for creating a glass-smooth finish on MDF edges. |
| MDF Primer | Sealing the porous wood before painting. | MDF acts like a sponge. You must use a specialised wood or MDF primer; otherwise, your topcoat will be applied unevenly. |
Step-by-Step Guide to Installing MDF Panelling
After you’ve chosen your style and gathered your materials, it’s time to prepare the space. This project is best completed over two days: one for cutting, glueing, and caulking, and the second for priming and painting.
Step 1: Prep the Walls and Calculate Your Spacing
MDF needs a clean, flat surface to adhere to. Start by washing your hallway walls with a sugar soap solution to remove grease, dust, and everyday grime. If your walls have flaking paint or raised bumps, lightly sand them flat.
Next, you must determine the spacing between your vertical battens. To ensure that all of your panels look uniform, you’ll need to do some simple maths.
- Measure the total width of your hallway wall.
- Decide how many vertical MDF strips you want to use.
- Multiply the number of strips by the width of one strip (for example, 6 strips x 50mm = 300 mm).
- Subtract that number from the total wall width.
- Divide the remaining number by the number of gaps (which is always one less than the number of strips). This final number is the exact distance you need to leave between each vertical batten.
Cut a piece of scrap wood to the exact “gap” measurement. This block can be used as a physical spacer between your boards, eliminating the need to measure each piece individually!
Step 2: Establish a Perfect Baseline
The secret to professional-looking panelling is absolute structural precision. In almost every UK home, the skirting boards, floors, and ceilings are slightly wonky. If you simply rest your vertical MDF strips on top of an uneven skirting board, your entire grid will be visibly crooked.
The most important step of the entire build is to establish a perfectly straight horizontal baseline. Replace the awkward pencil marks and short manual spirit levels with a compact laser level, which projects a crisp, continuous horizontal line across the hallway. This allows you to perfectly align your top horizontal rail in minutes, regardless of your sloping floor. Once that top line is perfectly straight, all of your vertical drops will naturally align at 90 degrees.
Step 3: Cut and Fix the MDF
Begin by installing the top horizontal rail along the laser line. Apply a thick, wavy bead of grab adhesive to the back of the MDF strip. Press it firmly against the wall, using even pressure. If your walls are particularly bowed, you may need to insert a few thin panel pins (small nails) to keep the MDF flat against the plaster while the adhesive dries.
Add your vertical strips after the top and bottom rails (which sit just above the skirting board) are secured. Apply the adhesive, place your pre-cut spacer block against the previous batten, and press the new vertical strip in place. Repeat the process for the entire length of the hallway.
Step 4: Fill, Caulk, and Smooth
This is the stage at which your DIY project evolves from “pieces of wood stuck to a wall” to a seamless, built-in architectural feature. Don’t rush this step.
- Wood Filler: Use a flexible wood filler to plug any nail holes and to smooth over the joints where the vertical and horizontal MDF strips meet. Once the filler is completely dry, sand it back until the joint feels entirely smooth to the touch.
- Decorator’s Caulk: The walls in your hallway will never be perfectly flat, resulting in small, unsightly shadow gaps between the MDF and plaster edges. Apply a thin bead of paintable decorator’s caulk to every internal corner where the wood meets the wall. Wet your finger and smooth the caulk down to create a perfect, seamless transition.
Step 5: Prime and Paint
MDF is a highly porous engineered wood. If you apply your expensive topcoat directly to raw MDF, it will soak in, raise the wood fibres and result in a rough, patchy finish.
Apply one coat of specialist MDF primer to all exposed wood, using a small foam roller for flat surfaces and a synthetic brush for edges. Once the primer has dried, lightly sand the wood with fine-grit paper to remove any raised fibres.
Finally, apply two layers of your preferred topcoat. Because hallways experience heavy foot traffic, bag scuffs, and muddy splashes, we highly recommend a long-lasting, wipeable paint finish. Eggshell, satinwood, and modern washable matte paints are ideal.
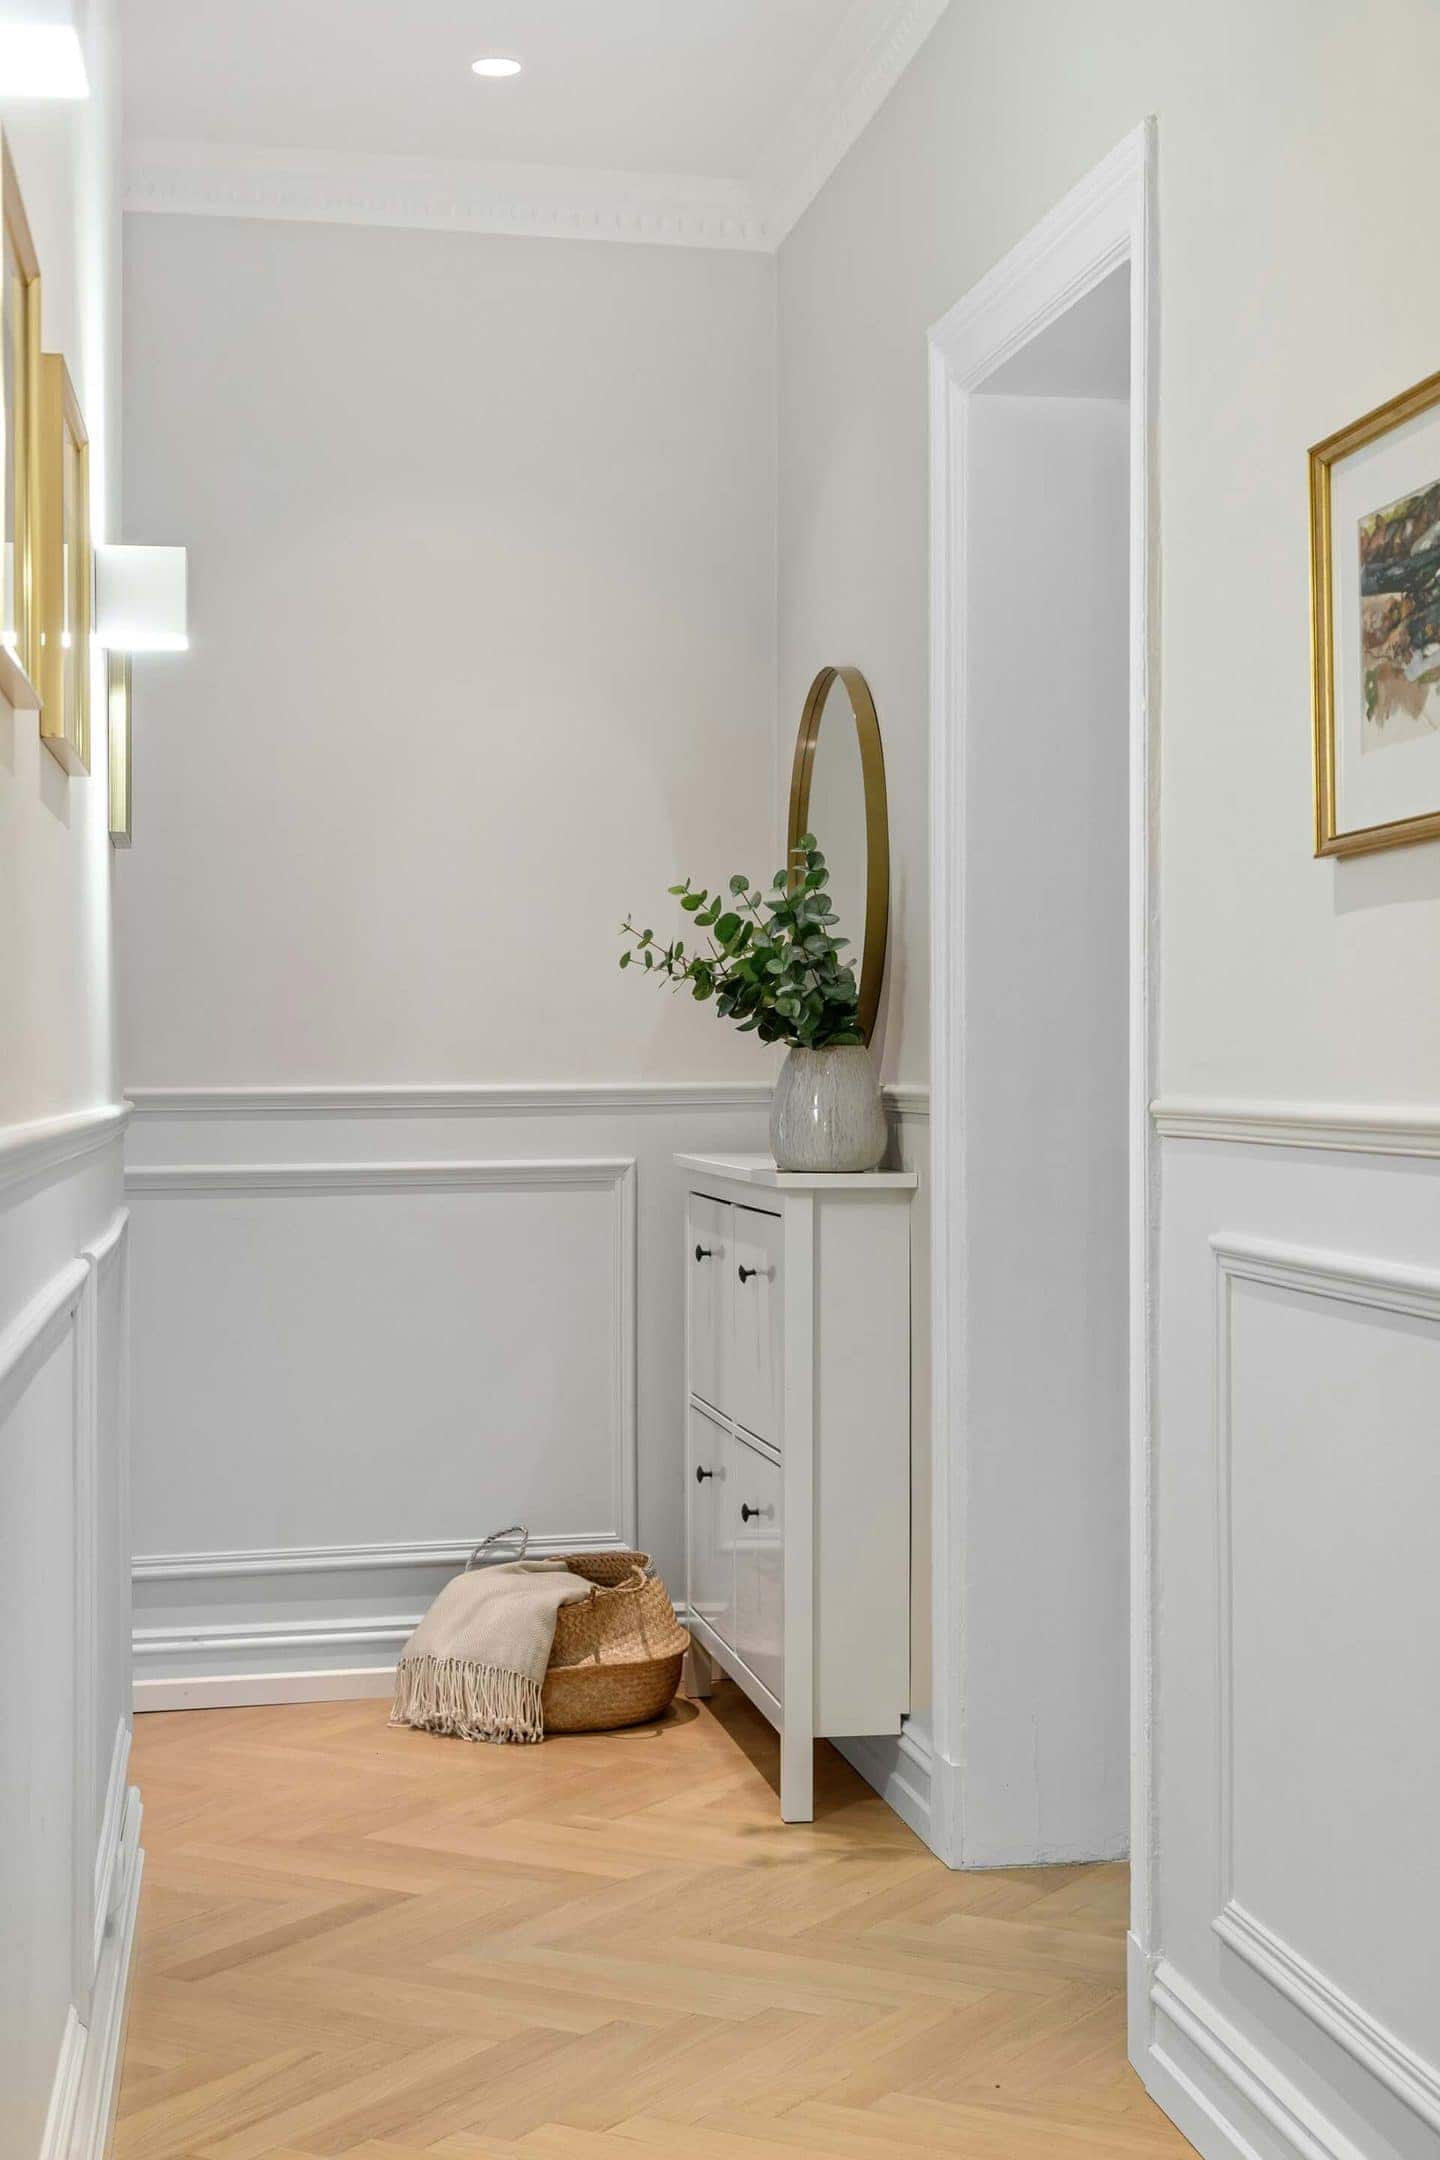
Styling Your Newly Panelled Hallway
Once the paint has cured, it’s time for the fun part. A panelled hallway makes a stunning backdrop for further styling.
- Bold Colour Choices: Panelling looks fabulous when painted in deep, enveloping colours. Deep navy blues, forest greens and warm terracottas hide scuff marks brilliantly, while making the room feel cosy and deliberate.
- Integrated Storage: If you choose a half-height board and batten style, the top horizontal rail can double as a shallow picture ledge. You can also screw straight into the vertical MDF battens heavy-duty brass or matte black coat hooks, turning your decorative wall into a highly functional cloakroom space.
- Warm Lighting: To enhance the 3D texture of your new panelling, add warm wall sconces or a statement pendant light. The light that is casting shadows across the battens will accentuate the architectural depth you have just created.
Conclusion
You don’t need to call in an expensive carpenter or put up with weeks of disruptive building work to add some character to a plain, boxy hallway. If you take the time to get your spacing right, use a laser level to ensure perfect horizontality, and be careful with your caulking and priming, you will have a truly professional finish.
MDF wall panelling is one of the most cost-effective, high-impact DIY projects you can undertake. It protects your plaster from everyday damage, adds a polished look, and transforms a neglected corridor into an impressive entrance. Pick up your supplies, choose a bold new paint colour, and completely transform your hallway this weekend.